Adding a New Course
Overview
This guide provides a step-by-step process for building an Instructor-Led Training (ILT) course on the MAXRES Construct platform. It covers logging in, navigating the dashboard, setting up the course structure, adding content elements, and publishing the final course.
Objectives
By following this guide, you will:
- Log in to the MAXRES Construct platform and navigate the dashboard.
- Understand key course structure terminology, including Learning Objects (LOs), Teaching Points (TPs), and Key Learning Points (KLPs).
- Set up and structure a new ILT course with elements such as Issue Records, Acronym Lists, and Lesson Plans.
- Add ILT-specific elements and publish the course for instructors and students.
Requirements
- Access to the MAXRES Construct platform with permissions to create and publish courses.
Roles
This guide is designed for:
- Instructional Designers
- Course Authors
- Instructors
- Super Admins
Process
1. Logging In
-
Visit the MAXRES Construct platform and enter your registered email and password.
-
Click Log In to proceed. To save your login details, mark the checkbox Remember Me.
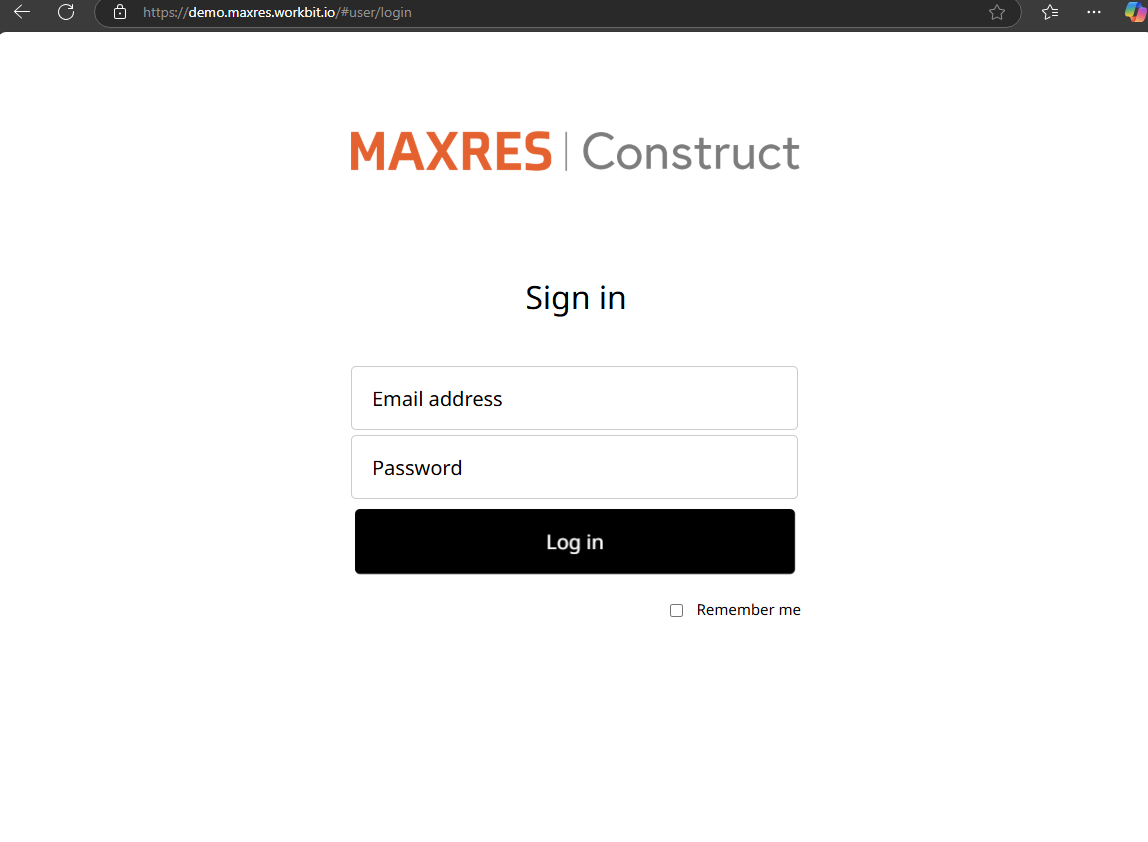 Fig. 1: Login Page
2. Navigating the Dashboard
After logging in, the dashboard is displayed. Use the left-hand navigation bar to access:
-
All Courses: Displays all courses accessible to the user.
-
My Courses: Shows courses created by the user.
-
Template Courses: Provides templates for new courses.
-
Search Tool: Filters courses by name.
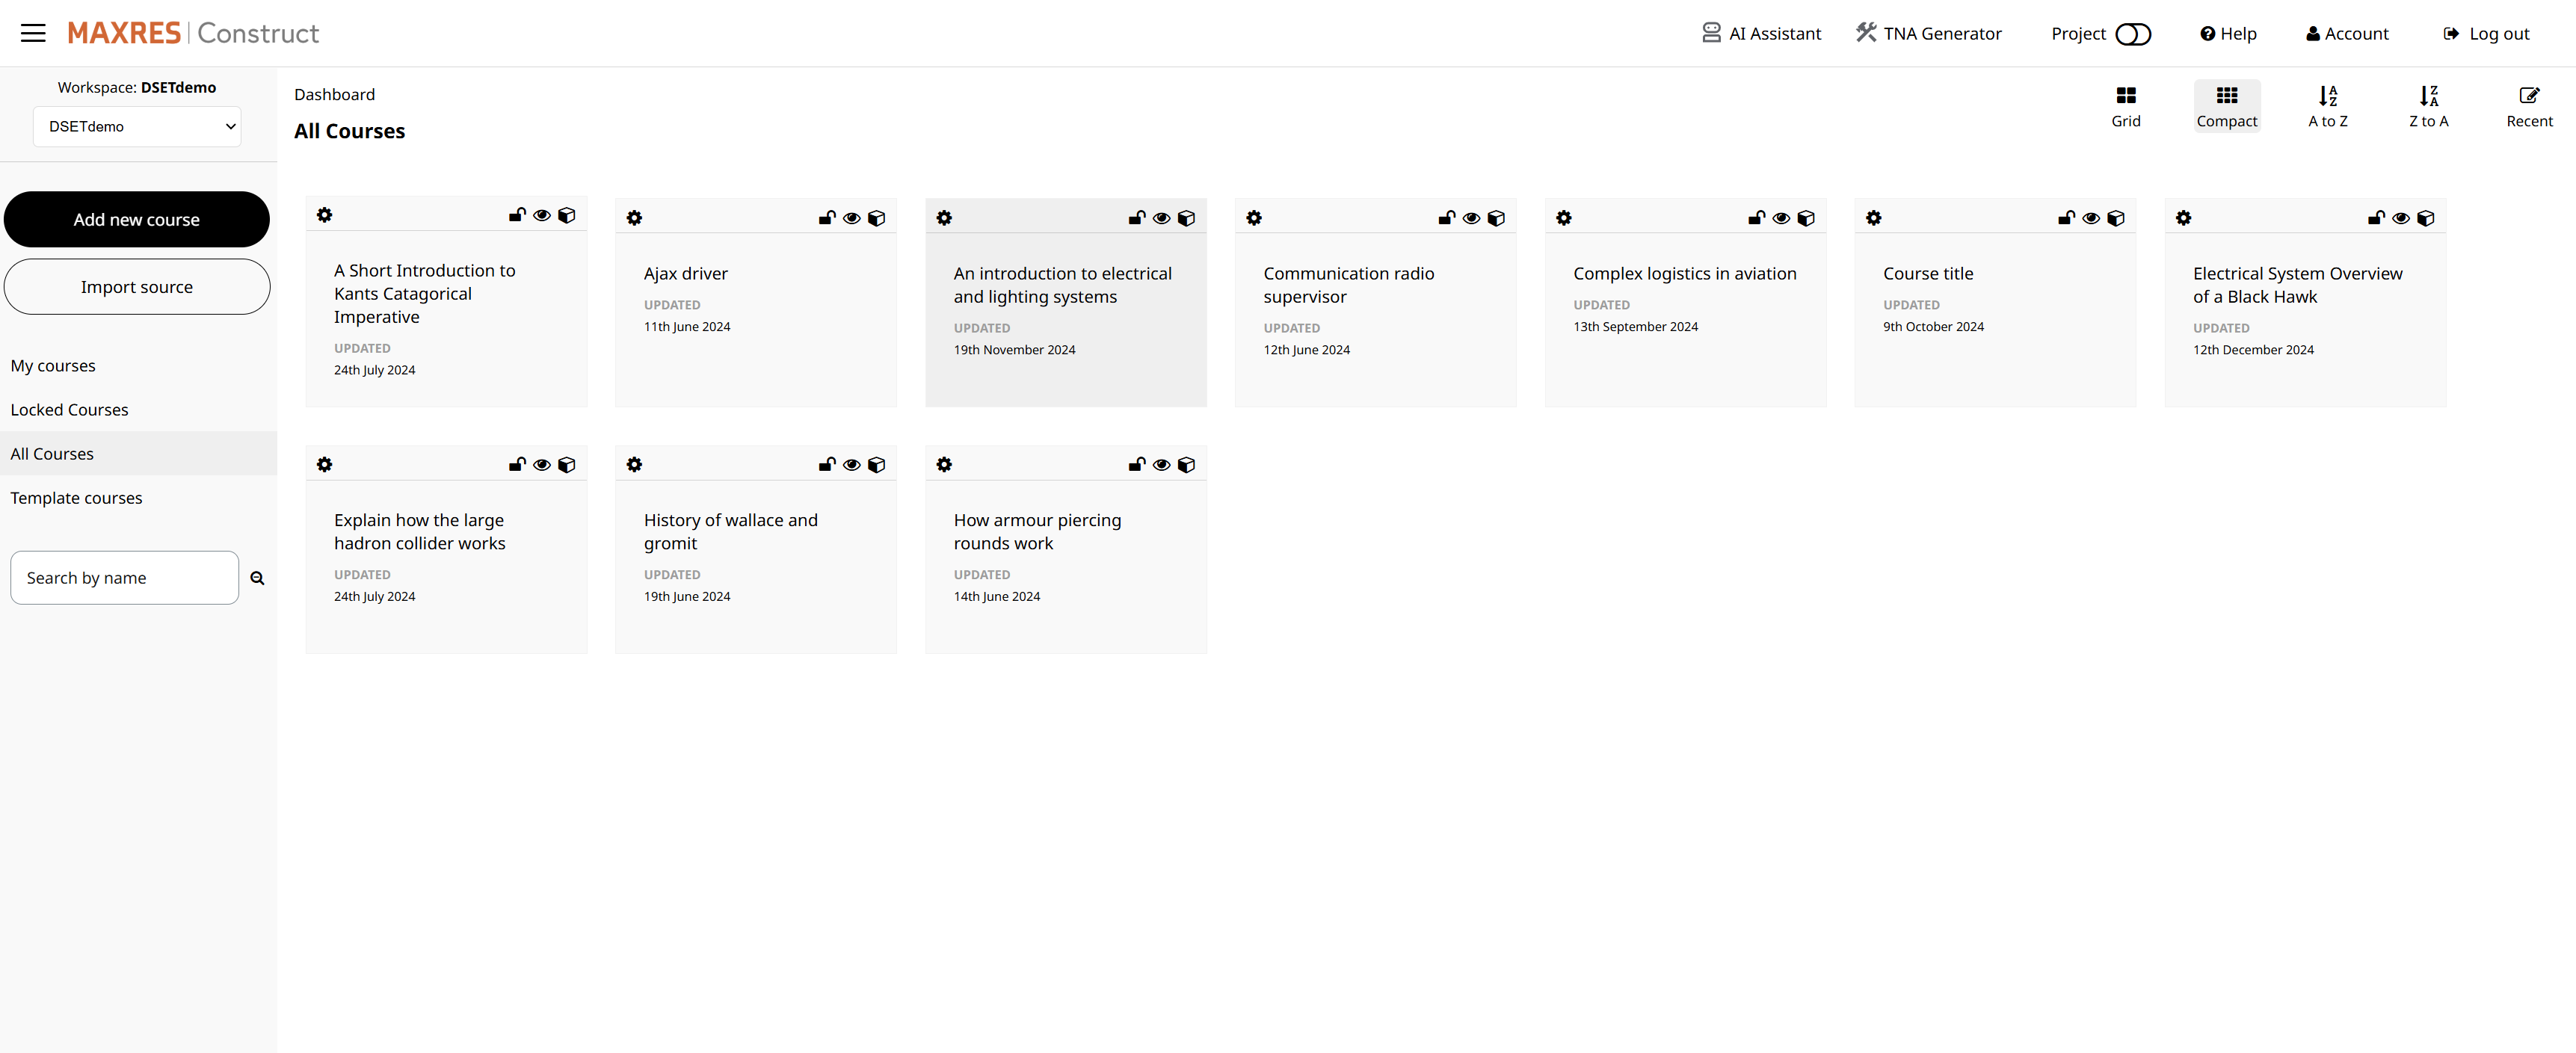 Fig. 2: All Courses
3. Understanding Course Structure Terminology
- Learning Object (LO): The root node of a course, e.g., a Question Bank LO linking to various course elements.
- Teaching Point (TP): Groups Key Learning Points (KLPs) for specific topics.
- Key Learning Point (KLP): Represents individual slides or sections of a course.
- Element: Visible content in ILT slides or Word documents, such as text, lists, or tables.
4. Initial Setup
To create an ILT course, follow these steps:
4.1 Issue Record Table
-
Add a Learning Object (LO), rename it, and add a Teaching Point (TP) titled Issue Record.
-
Add a Key Learning Point (KLP) and create a new element for the Issue Record Table.
-
Set output types to Word for both Student Notes and Instructor Guide.
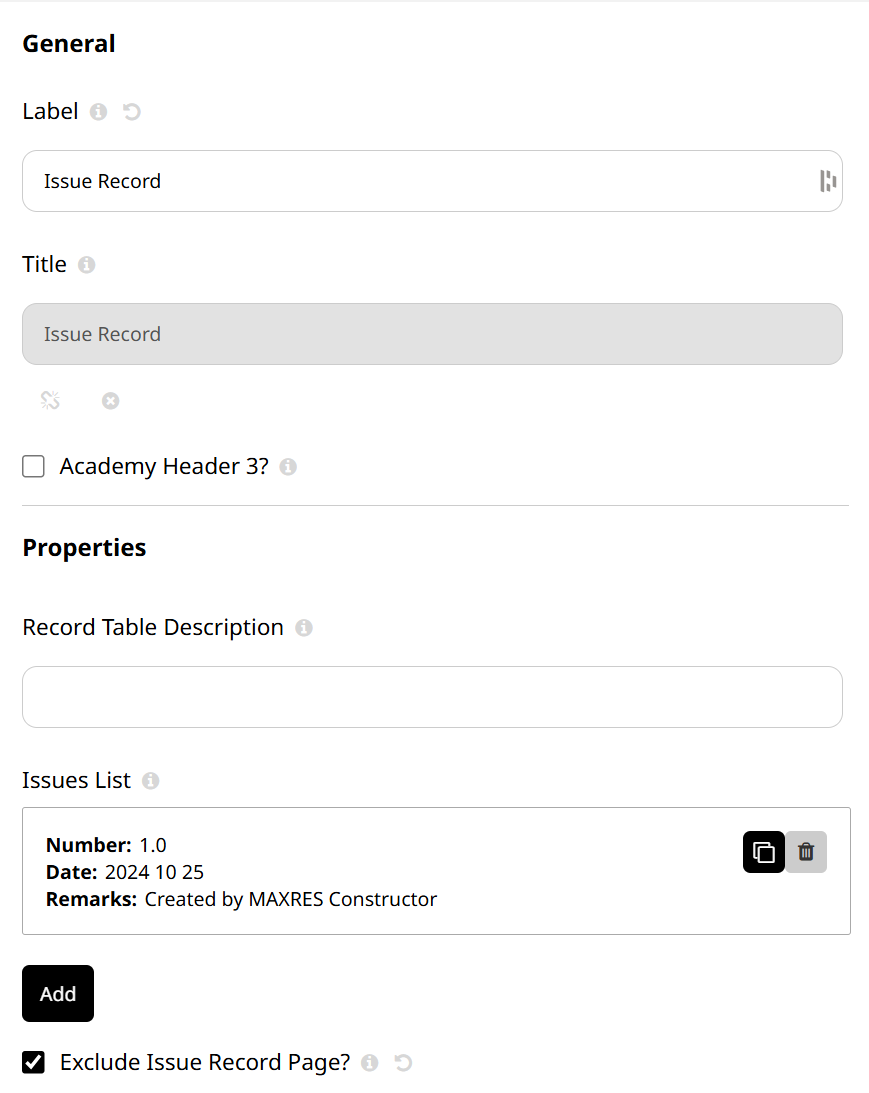
Fig. 4: Issue Record Table
4.2 Acronym List
-
Add a new TP titled Acronym List and a KLP.
-
Add a Text element, create a table for acronyms and their meanings, and set output types to Word.
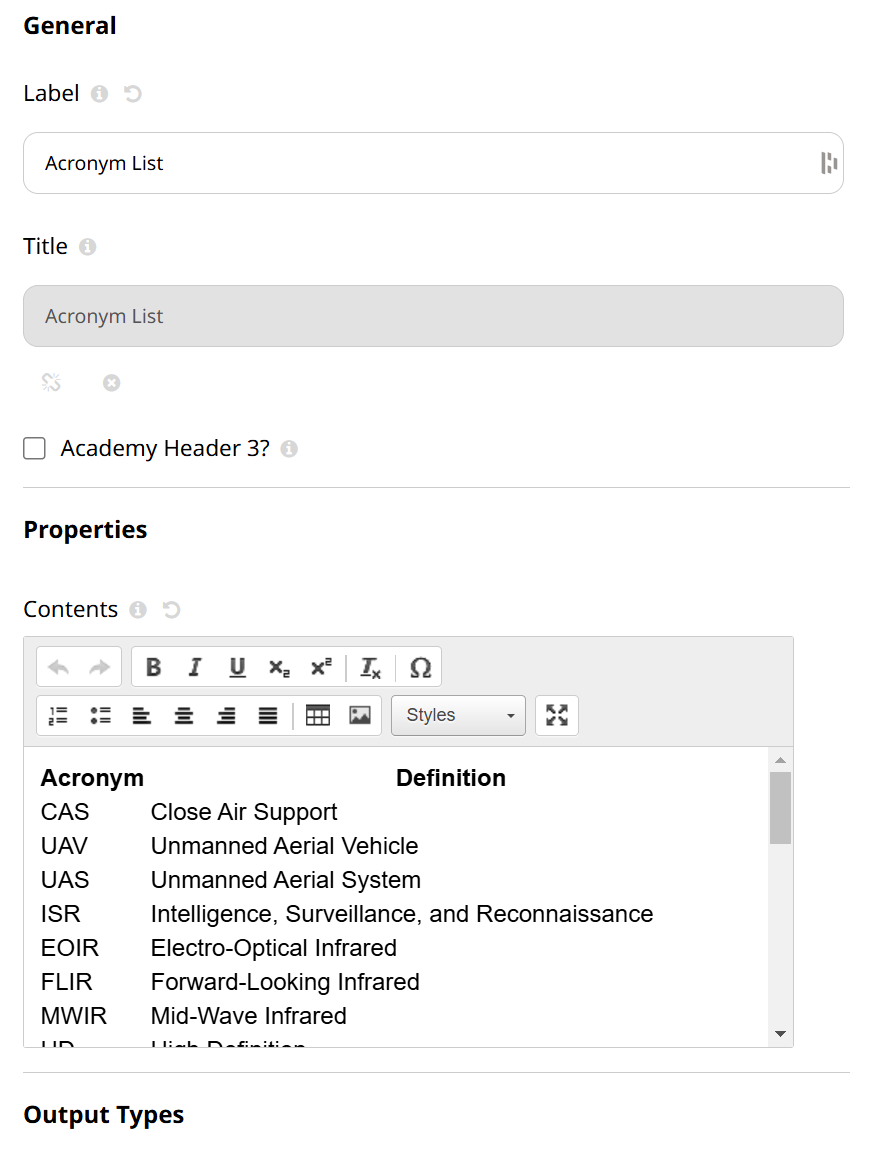
Fig. 5: Acronym List
4.3 Lesson Plan (Optional)
-
Add a TP titled Lesson Plan with KLPs for job roles.
-
Add text or list elements for objectives and classroom details.
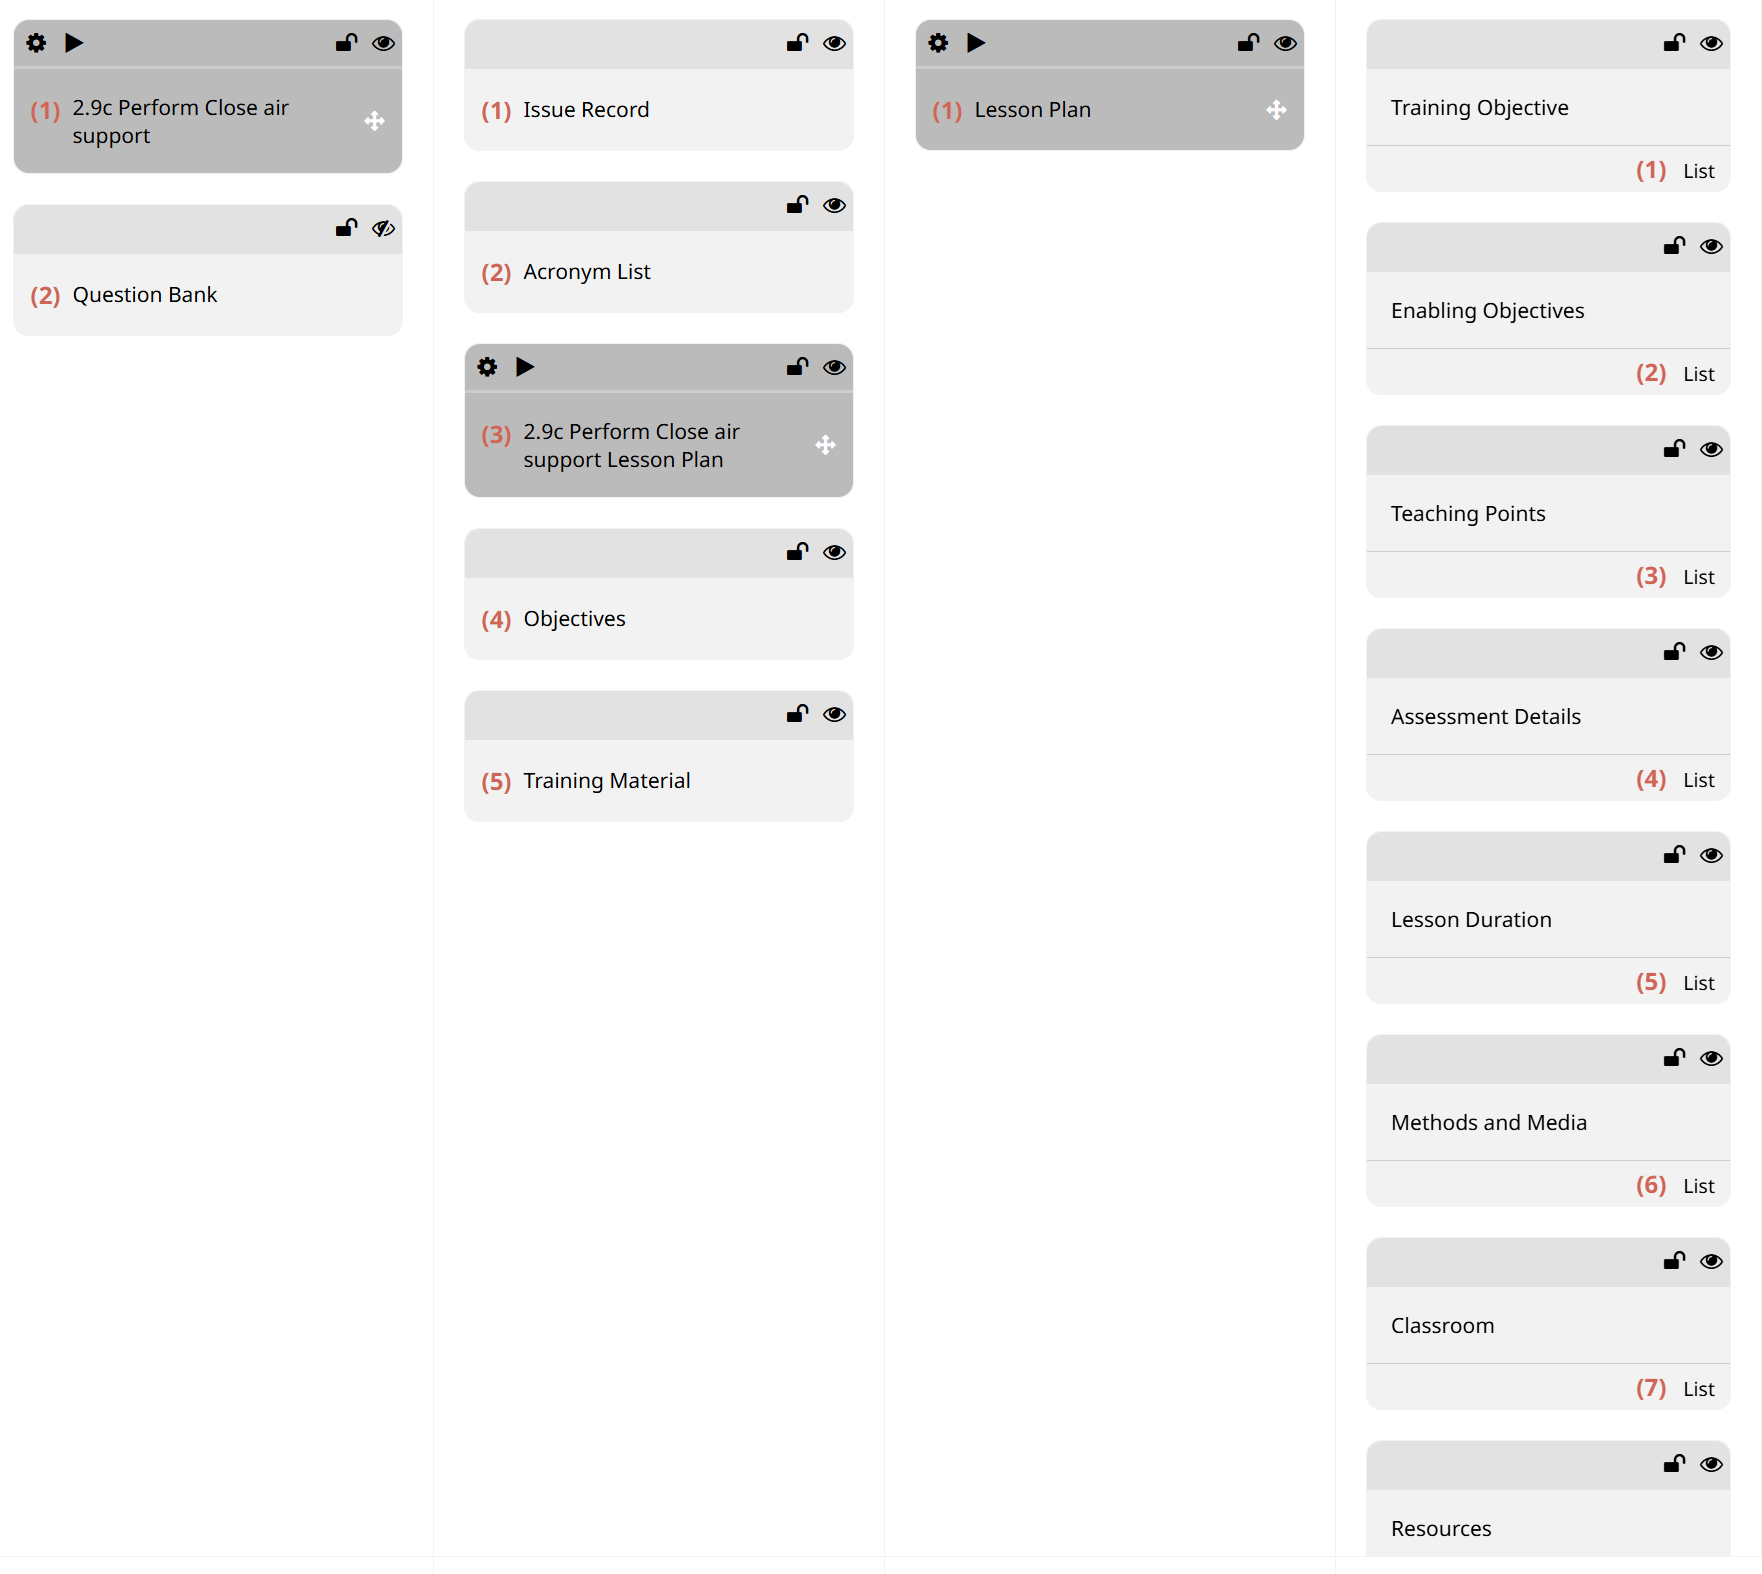 Fig. 6: Lesson Plan
4.4 Training Material
- Add a TP titled Training Material with corresponding KLPs and elements.
Note: Arrange TPs in the following order for ILT course standards:
- Issue Record
- Acronym List
- Lesson Plan
- Objectives
- Training Material
5. Adding Elements
- Navigate to a KLP and select Add Element.
- Choose element types such as Text, List, Single Choice Question, or Image.
- Configure output types and designate content for ILT or Word.
- For ILT-specific content, mark Instructor and Student checkboxes to define visibility.
Note: Only Text and List elements appear in the ILT Instructor Control Window.
6. Previewing and Publishing the Course
- Preview the course to verify the presentation view for both instructors and students.
- Publish the course by setting job roles and delivery formats (ILT slides and Word documents).
By completing these steps, you can efficiently create and publish a professional ILT course tailored to your organization’s needs.